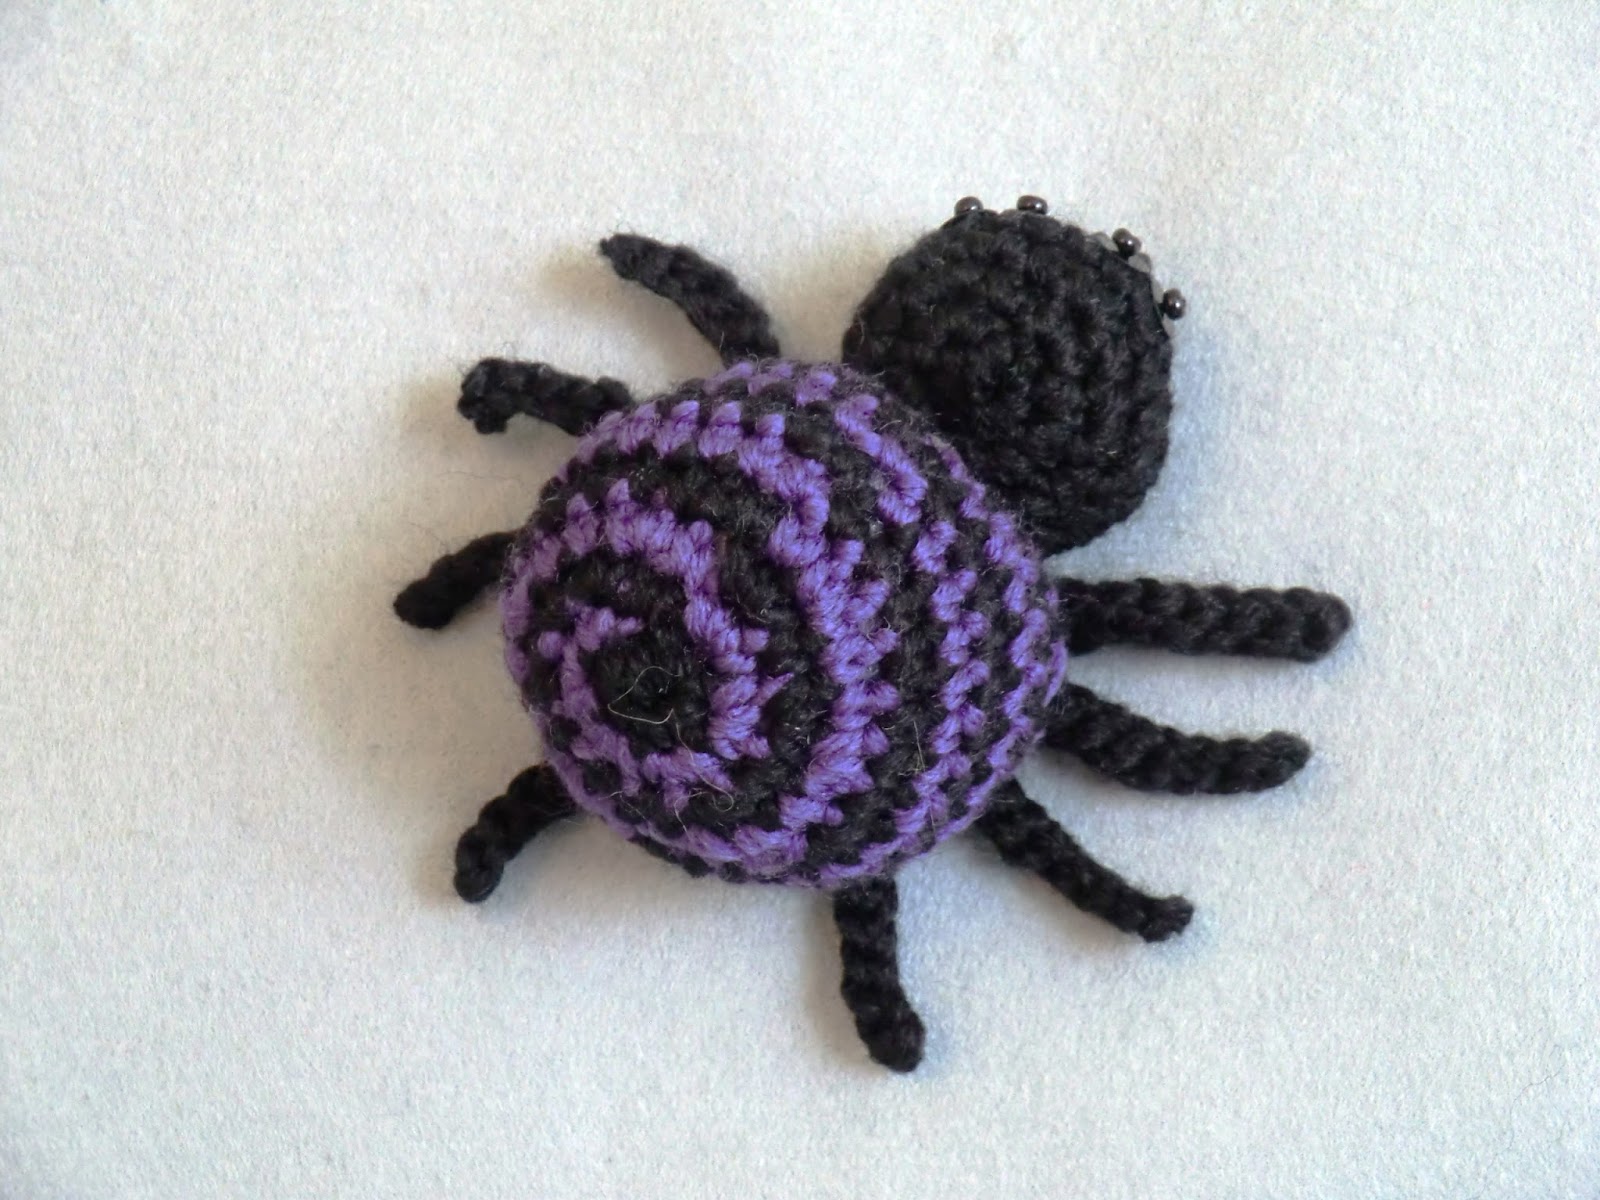
see previous post for step by step making guide

Seahorse
You will need:
4ply yarn green and blue
3mm crochet hook
Wool needle
Toy stuffing
Abbreviations
Sl st –slip stitch
dc – double crochet
htr – half treble crochet
tr – treble crochet
st/sts – stitch/stitches
dc2tog – double crochet the next two
stitches together
Back fin
Make one in green yarn
Make a magic ring and work 4dc into the
ring. sts
Rnd 1: (dc in the first st, 2dc in the next
st) repeat to end. 6sts
Rnd 2: (dc in the first two sts, 2dc in the
next st) repeat to end. 8sts
Rnd 3: (dc in the first three sts, 2dc in
the next st) repeat to end. 10sts
Round 4: dc in each st to end. 10sts
Fold the circle in half so there is two
rows of five stitches. Work the next row through both rows to close the gap and
create a decorative edge.
Row 1: (ch3, dc in next st) repeat to end.
5sts, 5 ch loops
Fasten off.
Back fin
Make one in green yarn
Make a magic ring and work 4dc into the
ring. sts
Rnd 1: (dc in the first st, 2dc in the next
st) repeat to end. 6sts
Rnd 2: (dc in the first two sts, 2dc in the
next st) repeat to end. 8sts
Fold the circle in half so there is two
rows of four stitches. Work the next row through both rows to close the gap and
create a decorative edge.
Row 1: (ch3, dc in next st) repeat to end.
4sts, 4 ch loops
Fasten off
Back spines
This part is work along a chain rather than
in the round
Make one in green yarn
Ch 25
dc in 2nd Ch from hook, htr in next st,
Ch2, sl st in next st, (dc in next st, htr in next st, Ch 2, sl st in next st)
repeat to end along ch
fasten off
Head and body
Starts at the tip of the nose and works
down. Stuff as you go along.
Make a magic ring and work 6dc into the
ring. 6sts
Rnd 1-3 : dc in each st to end
Rnd 4-6: 2dc in the first st. dc in each st
to end. 9sts at end of round 6
Rnd 7: (dc in the first two sts, 2dc in the
next st) repeat to end. 12sts
Rnd 8: (dc in the first st, 2dc in the next
st) repeat to end. 18sts
Rnd 9: (dc in the first two sts, 2dc in the
next st) repeat to end. 24sts
Rnd 10: (dc in the first three Sts, 2dc in
the next st) repeat to end. 30sts mark this round with a stitch marker
Rnd 11: (dc in the first four sts, 2dc in
the next st) repeat to end. 36sts
Rnd 12-14: dc in each st to end. 36sts
Paus to insert toy eyes on the marked round
14sts apart
Rnd 15: (dc2tog, dc in next four sts)
repeat to end. 30sts
Rnd 16: (dc2tog, dc in next three sts)
repeat to end. 24sts
Rnd 17: (dc2tog, dc in next two sts) repeat
to end. 18sts
Rnd 18: (dc2tog, dc in next st) repeat to
end. 12sts
Rnd 19: (dc2tog) repeat to end. 6sts
Rnd 20-24: dc in each st to end. 6sts
Rnd 25: (dc in the first st, 2dc in the
next st) repeat to end. 9sts
Rnd 26: (dc in the first two sts, 2dc in
the next st) repeat to end. 12sts
Rnd 27: (dc in the first three Sts, 2dc in
the next st) repeat to end. 15sts
Rnd 28: (dc in the four sts, 2dc in the
next st) repeat to end. 18sts
Rnd 29: dc in each st to end. 18sts
Rnd 30: (dc in the first five sts, 2dc in
the next st) repeat to end. 21sts
Rnd 31: dc in each st to end. 21sts
Rnd 32: (dc in the first six sts, 2dc in
the next st) repeat to end. 24sts
Rnd 33: dc in each st to end. 24sts
Rnd 34: (dc in the first seven sts, 2dc in
the next st) repeat to end. 27sts
Rnd 35: dc in each st to end. 27sts
Rnd 36: (dc in the first eight sts, 2dc in
the next st) repeat to end. 30sts
Rnd 37: dc in each st to end. 30sts
Rnd 38: (dc in the first nine sts, 2dc in
the next st) repeat to end. 33sts
Rnd 39: dc in each st to end. 33sts
Rnd 40: (dc in the first ten sts, 2dc in
the next st) repeat to end. 36sts
Rnd 41-45: dc in each st to end. 36sts
Rnd 46: (dc2tog, dc in next four sts)
repeat to end. 30sts
Rnd 47: (dc2tog, dc in next three sts)
repeat to end. 24sts eyes
Rnd 48: (dc2tog, dc in next two sts) repeat
4to end. 18sts
Rnd 49: (dc2tog, dc in next st) repeat to
end. 12sts *stuff now*
Rnd 50: (dc2tog) repeat to end. 6sts
Rnd 51-80 : dc in each st to end
Fasten off and sew closed hole in base
Sew on fins and back fins as per photo to
finish
We don't have a name for this guy yet so please comment with your suggestions
thanks
Liz xxx